6 years ago / Admin
Wouldn’t it be great to if you could create an infographic as simply as regular texts? However, creating visually appealing content takes much more time, effort and skill than regular text. But considering the increasing popularity and effectiveness of visual content, you just can’t afford to give in yet. Here’s why. You too can create professional-looking, high quality content without a fuss and within a few minutes. You’ll find out how to do so in this guide. Just read on!
At times, creating a simple infographic can be a hard and overwhelming task. While a professionally designed infographic is desirable to most people, finding an infographic making tool that allows you to do this and is cheap can be challenging. Most of the already available tools are okay for a while, but they are overpriced and require you to spend a lot more money to unlock certain features.
Due to the technological advancements made over the last decades, some of the latest infographic making tools have made it easier to format and create infographics. The issue however, is few of them are ever truly user friendly. They can become cumbersome and this may impede your content creation process.
Some of the tools like PowerPoint and InDesign require a lot of time to get accustomed to. Their learning curve is huge and at times, it may take you a whole lot of time to create just one infographic. This can be disheartening. But luckily, there is a simpler choice!
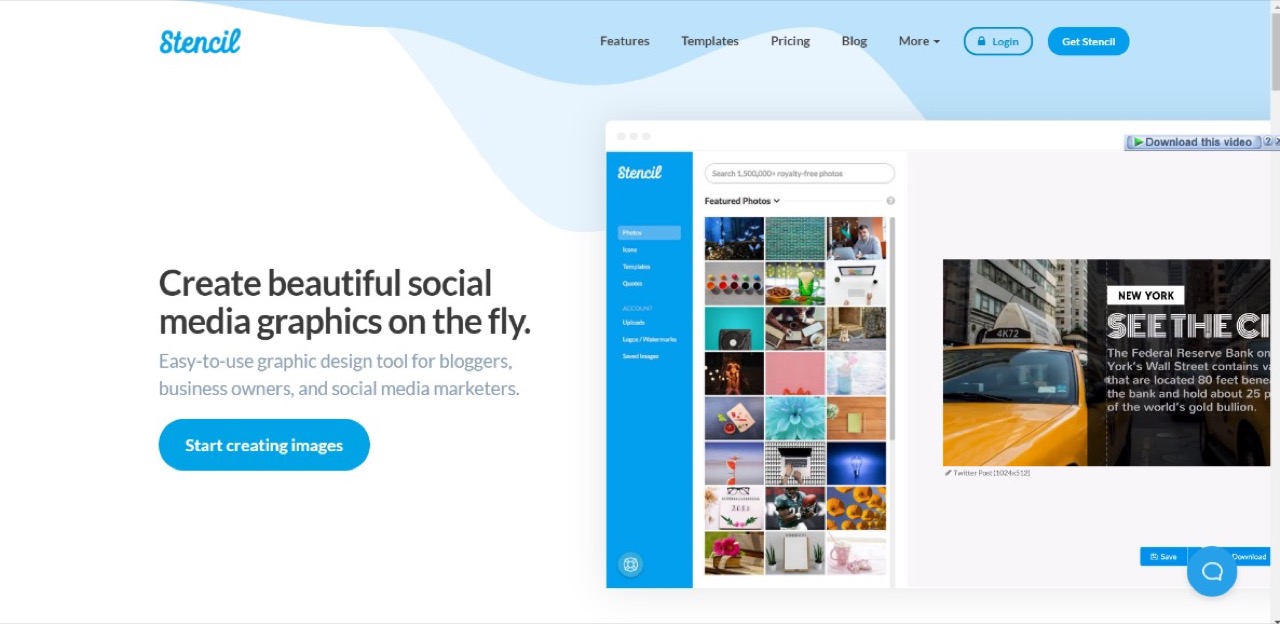
This is where Getstencil comes in. It is a free online graphic design tool that combines user friendliness and ease of use. It allows you to create visual content in a fast, simple and fun way. With this tool you don’t have to worry about the quality of your content, owing to its great graphics. The software isn’t complicated and doesn’t require training for one to use. What’s even better is that you don’t have to pay a dime for the free version! How cool is that? All you need to do is sign up for the free version and get started making your infographic!
Pros:
Cons:
Go to getstencil.com. Click on Start creating images.
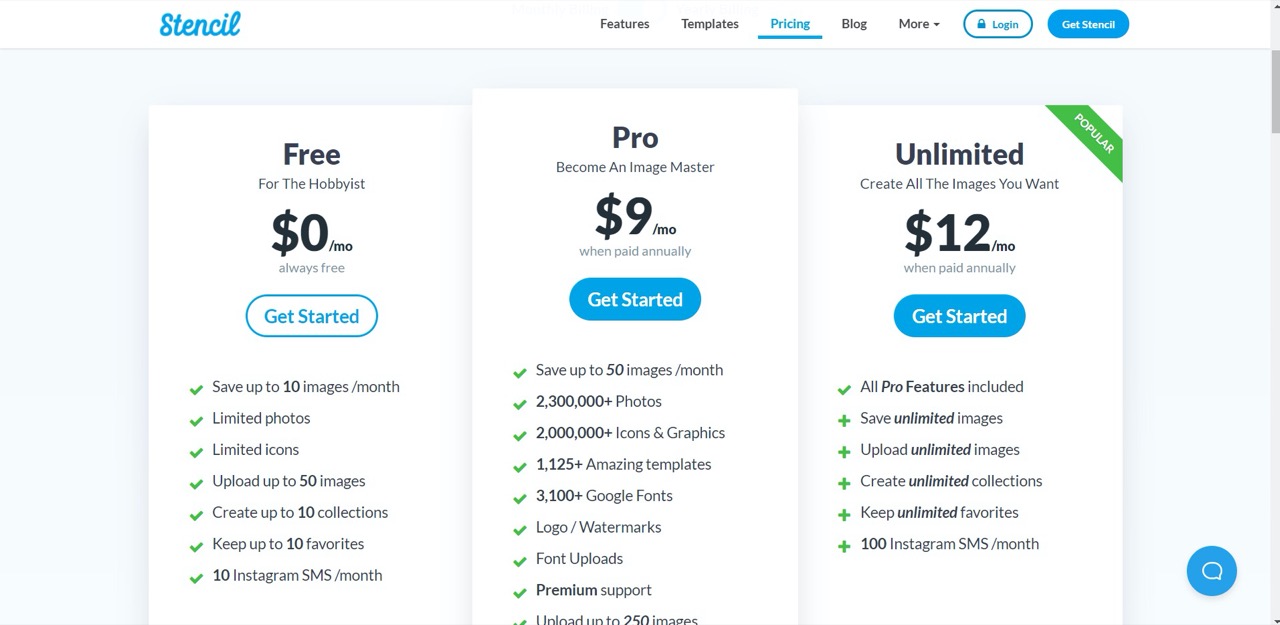
This will open a page where you can choose a plan. Click on the Get started option under Free.
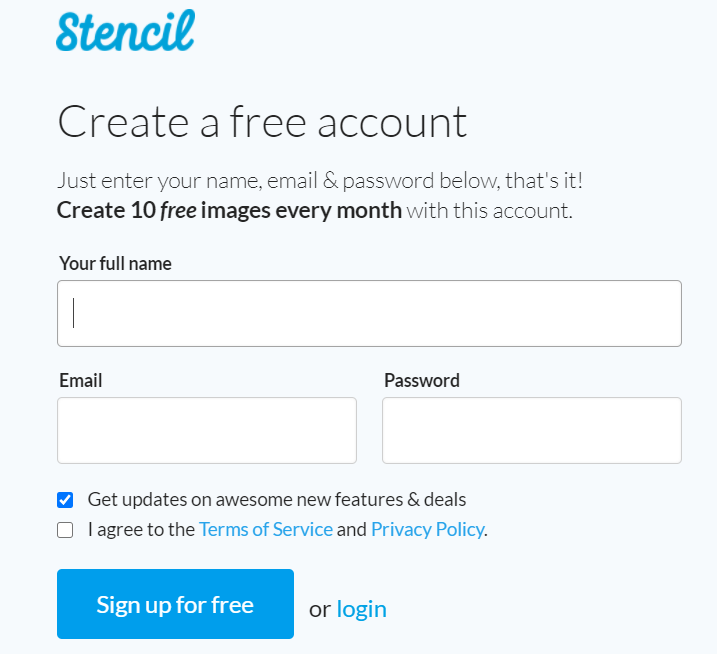
After this fill in your details in the page that appears and click Sign Up for Free.
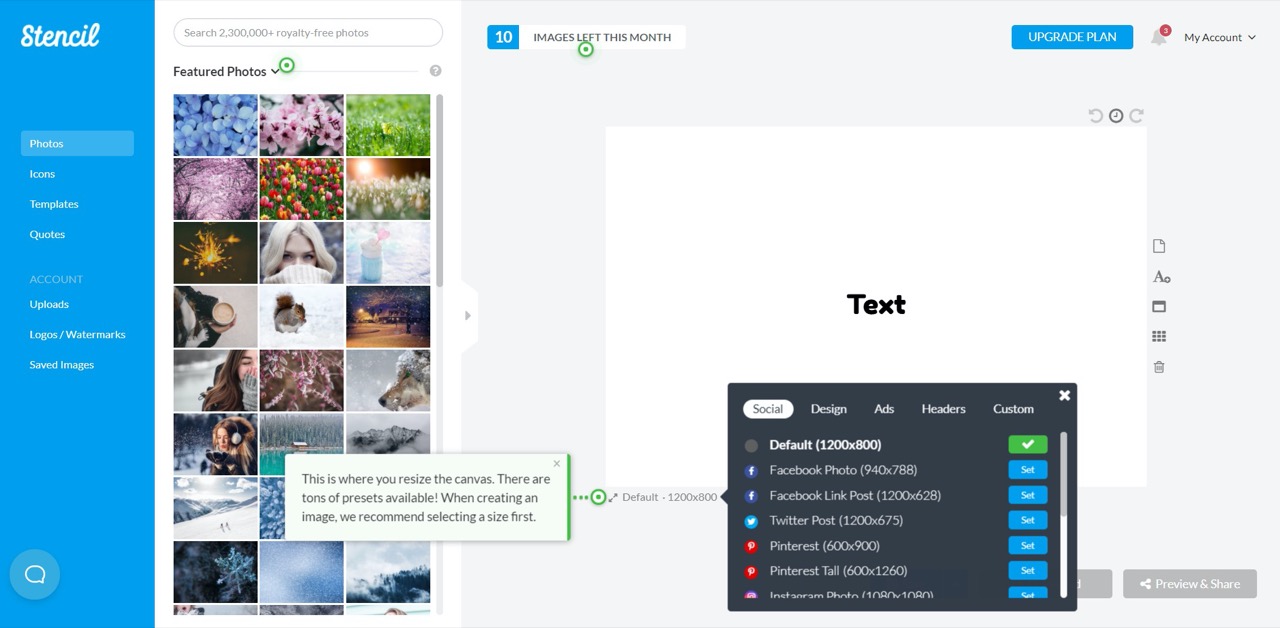
Once you’ve signed up, Getstencil will give you a brief tutorial so you’ll know how to use the features.
To do this click on the green blinking dot right beside the canvas. This will open up a few options. Choose one that is ideal to your purposes.
For free high quality images go to https://imagesload.net on your browser and search for an image that is appropriate to your needs and download it.
Go back to getstencil and click on Uploads. Click on the Upload Images command. Choose the image you downloaded and click open. The image is successfully uploaded to getstencil.
Here is the image I picked (https://imagesload.net/view/anemometer-watch-in-hand-with-transparent-backround-png/TyggT)

Now click on the image you’ve downloaded and drag it to your canvas. You’ll get 2 options:
Since we’re setting a background image drop your photo on this option.
Alternatively click on the block sign that appears just above your image and choose set as background.
After doing this, your images is sent to your canvas.
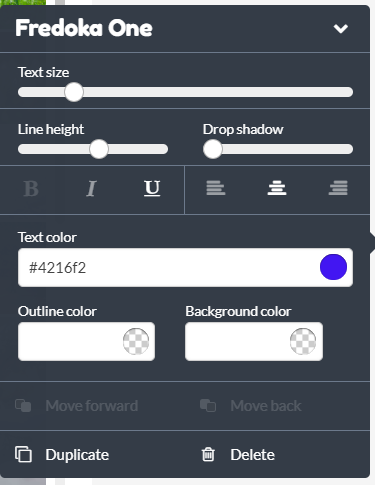
A text box appears which enables you to customize your image. Edit it according to your needs.
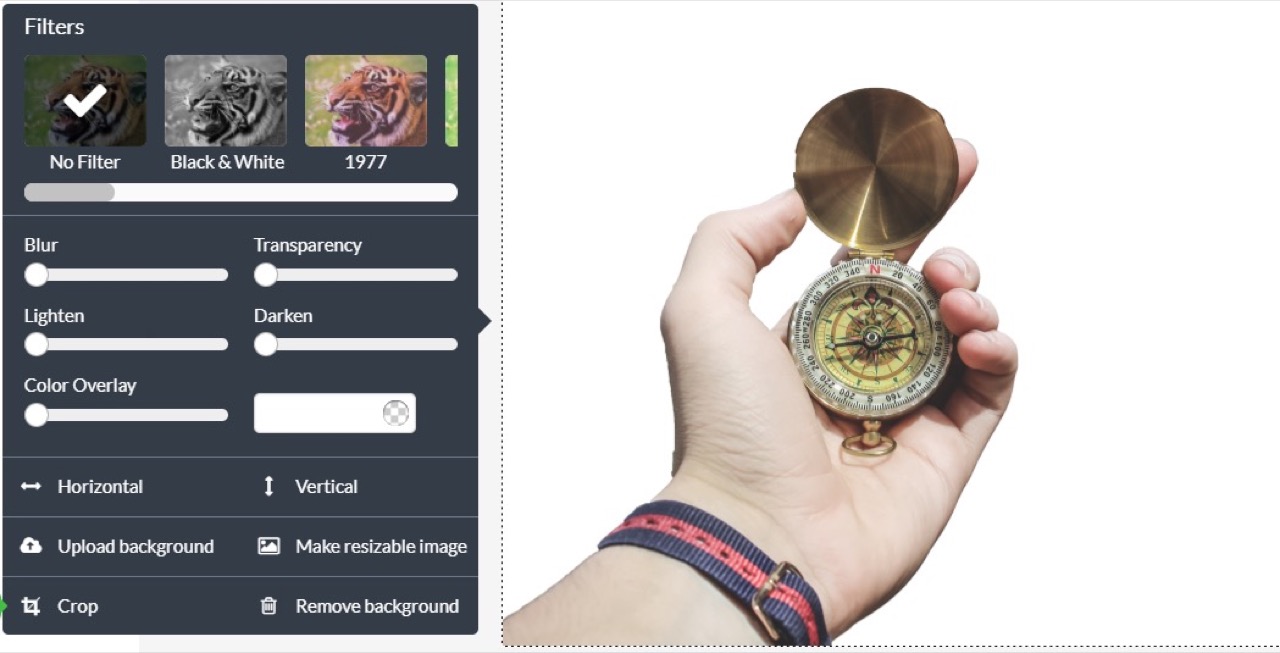
Click on the Text option. You’ll see this among the commands on the right hand side of your canvas.
Alternatively, you can double click anywhere on your canvas and a text box will appear.
After typing in your text, a box appears which allows you to edit the text to your liking.
You can now proceed to add other aspects to your infographic such as Icons and Quotes. To add these just click on the respective commands.
After you are done creating your infographic, click on Save just below your canvas. This will activate the Download and the Preview & Share options.
If you click on download, the dialog box below opens. Proceed to adjust the settings to your specification. Click on Start Download and you’ll get your infographic.

If you click on Preview & Share the dialog box below appears. Pick where you’d like to share your infographic and click on it. Follow the steps after this and your content will be shared.
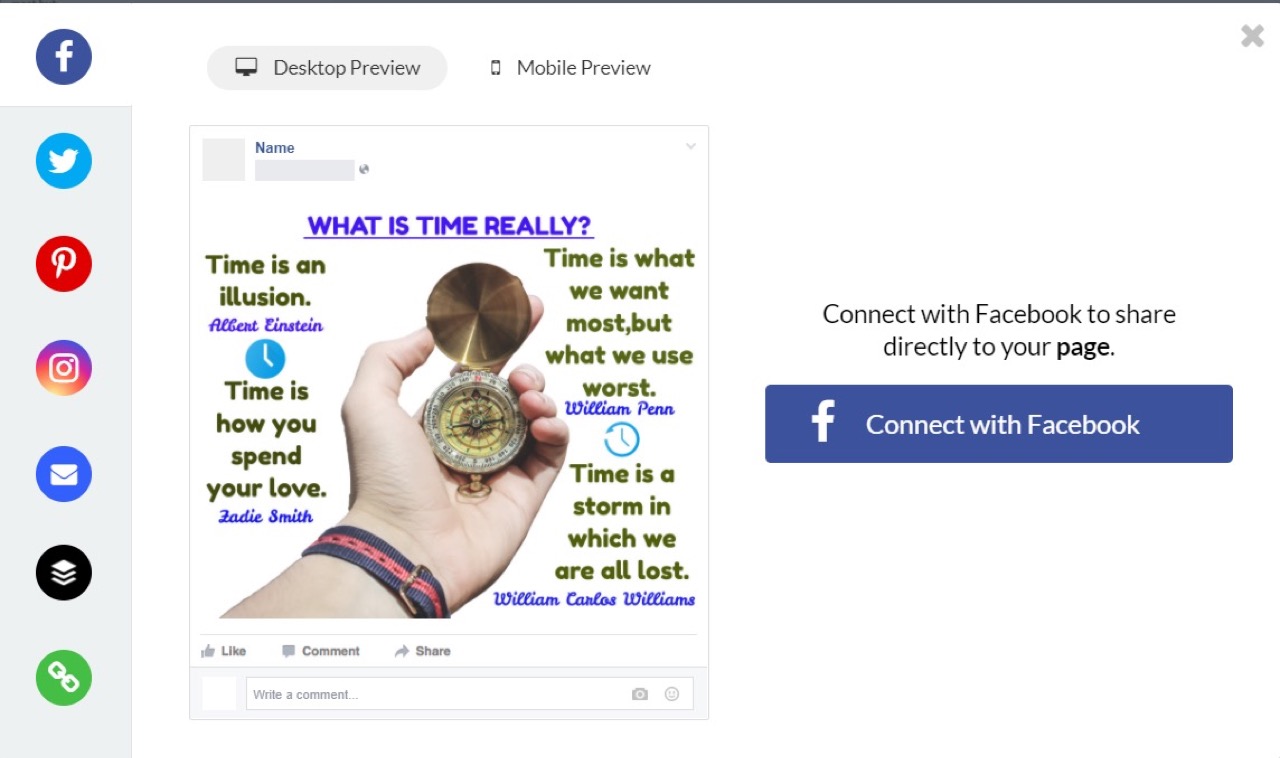
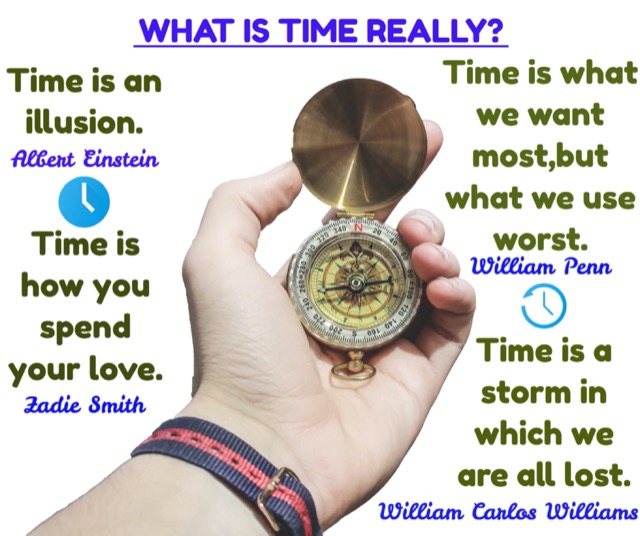
As you can see, creating an Infographic with getstencil is super easy. The only downside is that free version doesn’t come with a lot of features. It doesn’t take a lot of time to create a simple infographic though. It took me less than 5 minutes to make mine. Here is how it looked like.
Read more
6 years ago / Admin
You’ve probably spent dozens of hours fiddling with the controls in PowerPoint and other softwares trying to create eye-catching presentations that attract people’s attention. If you’re tired of using so much of your time, then this is sure to be an insightful read for you.
The problem might be that free images are not available for you to make use of. This is mostly the case for most of these softwares. No worries though! This guide has just the solution you’ve been yearning for.
Few of the available presentation making tools are truly user friendly. The learning curve for most of them is too long and at times they become too clunky and cumbersome to use. Some of the slides you see nowadays from PowerPoint, Keynote and other tools have become too generic. Often the template styles are dull and repetitive. All of this can be confusing and disheartening at times.
While some of the well-known softwares may work for some people, they are often costly to use. This can be a bummer especially if you’re just looking to create a simple presentation. But you need not worry anymore!
Introducing https://Beautiful.ai It’s a free presentation-making, AI- powered tool guaranteed to help you create stunning presentations without a fuss. With Beautiful.ai, you don’t have to worry about creating dull slides again. It’s the perfect blend of design and functionality that helps you create high quality content. It is a perfect tool for situations when you need to make good-looking presentations within a short period of time. It’s effortless, seamless and doesn’t cost you a dime!
Beautiful.ai was created for 3 reasons:
Since its introduction in 2018, its simplicity has made it collect a steady cult-like following. It truly has revolutionized presentation making.
1. Collaboration - This feature allows you to invite and collaborate with colleagues and partners in real time. This ensures you’re all on the same page with the final product.
2. Elements - This feature lets you position different types of texts, shapes, and graphics anywhere on your slides. This gives you the flexibility to craft your message exactly where you want.
3. Logos - This enables you to add a logo to your title and position it.
4. Customizable templates - It has numerous templates which you can use to edit to your liking.
5. Editable PPT - This allows you to edit PPT or export your Beautiful.ai presentations to PPT.
6. Image editing features - ability to fine tune images after uploading
Pros:
Cons:
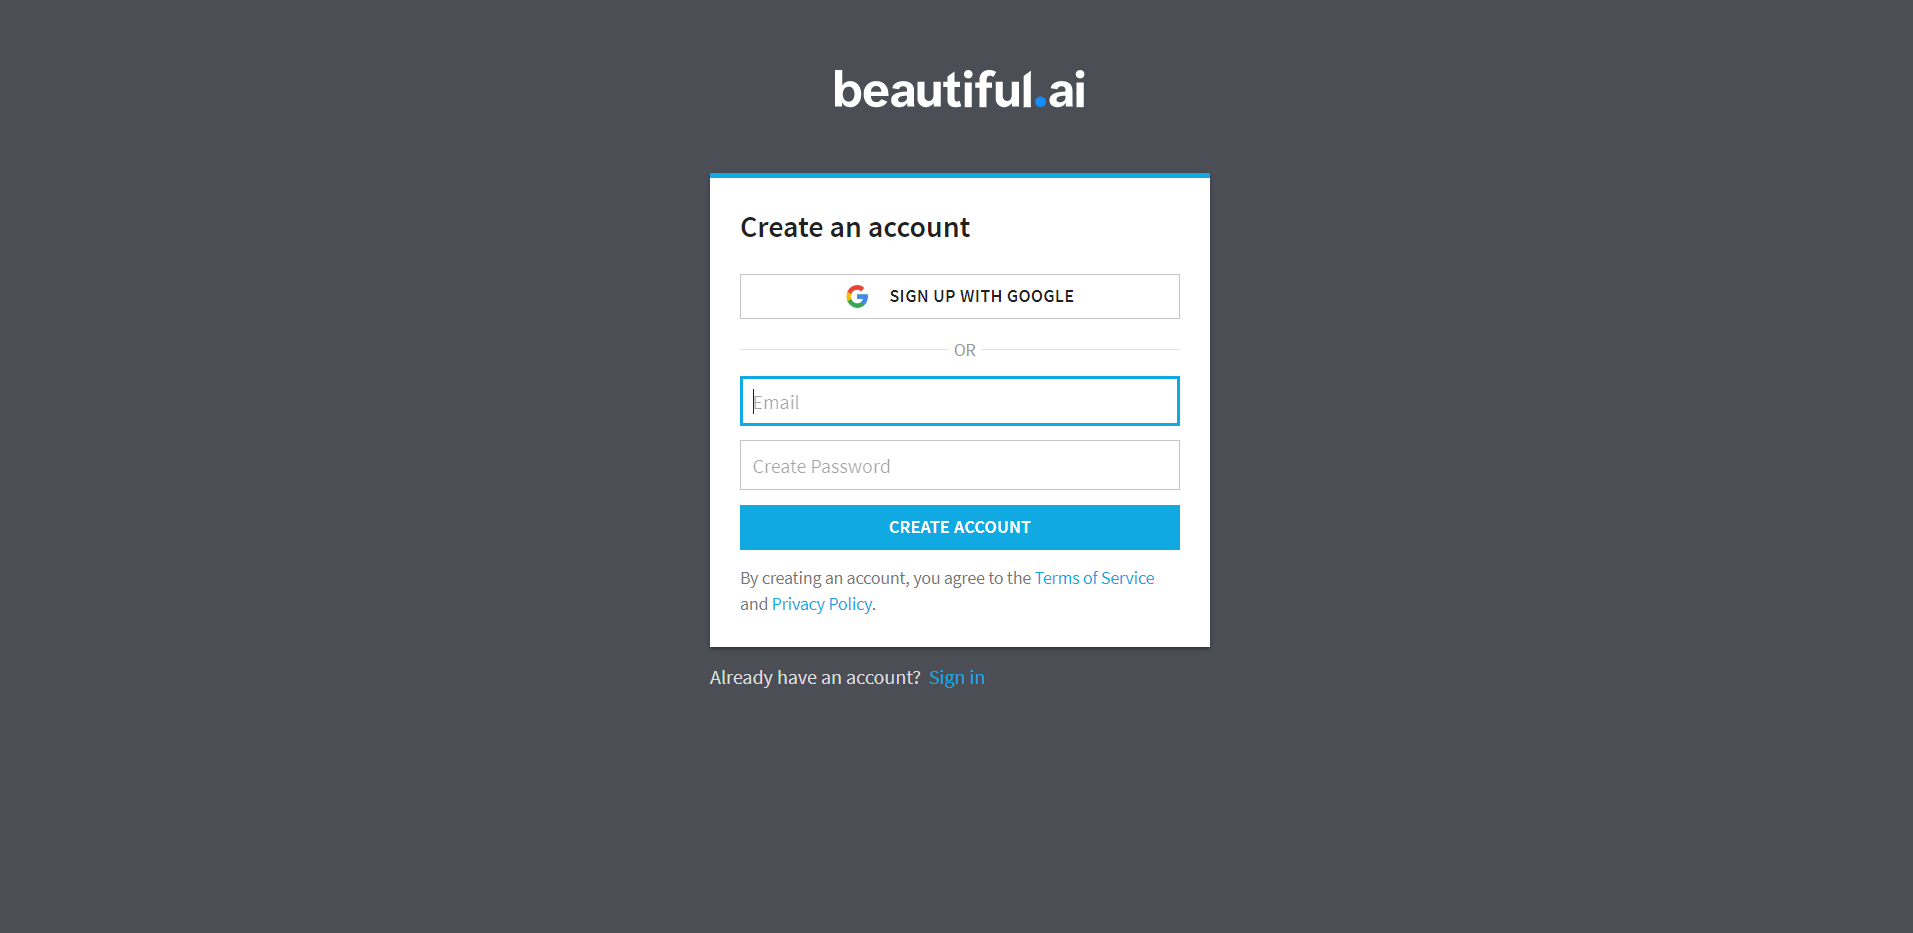
Go to beautiful.ai. Click on Sign up Free in the page that appears.

After clicking on Sign Up Free a page appears where you fill in your email and password. After doing this click on Create Account.
Once you’ve done all this, your account is created and now you’ll be ready to begin. Beautiful.ai gives you a brief tutorial in this step so be sure to check it out.
This is how your window should look like afterwards.

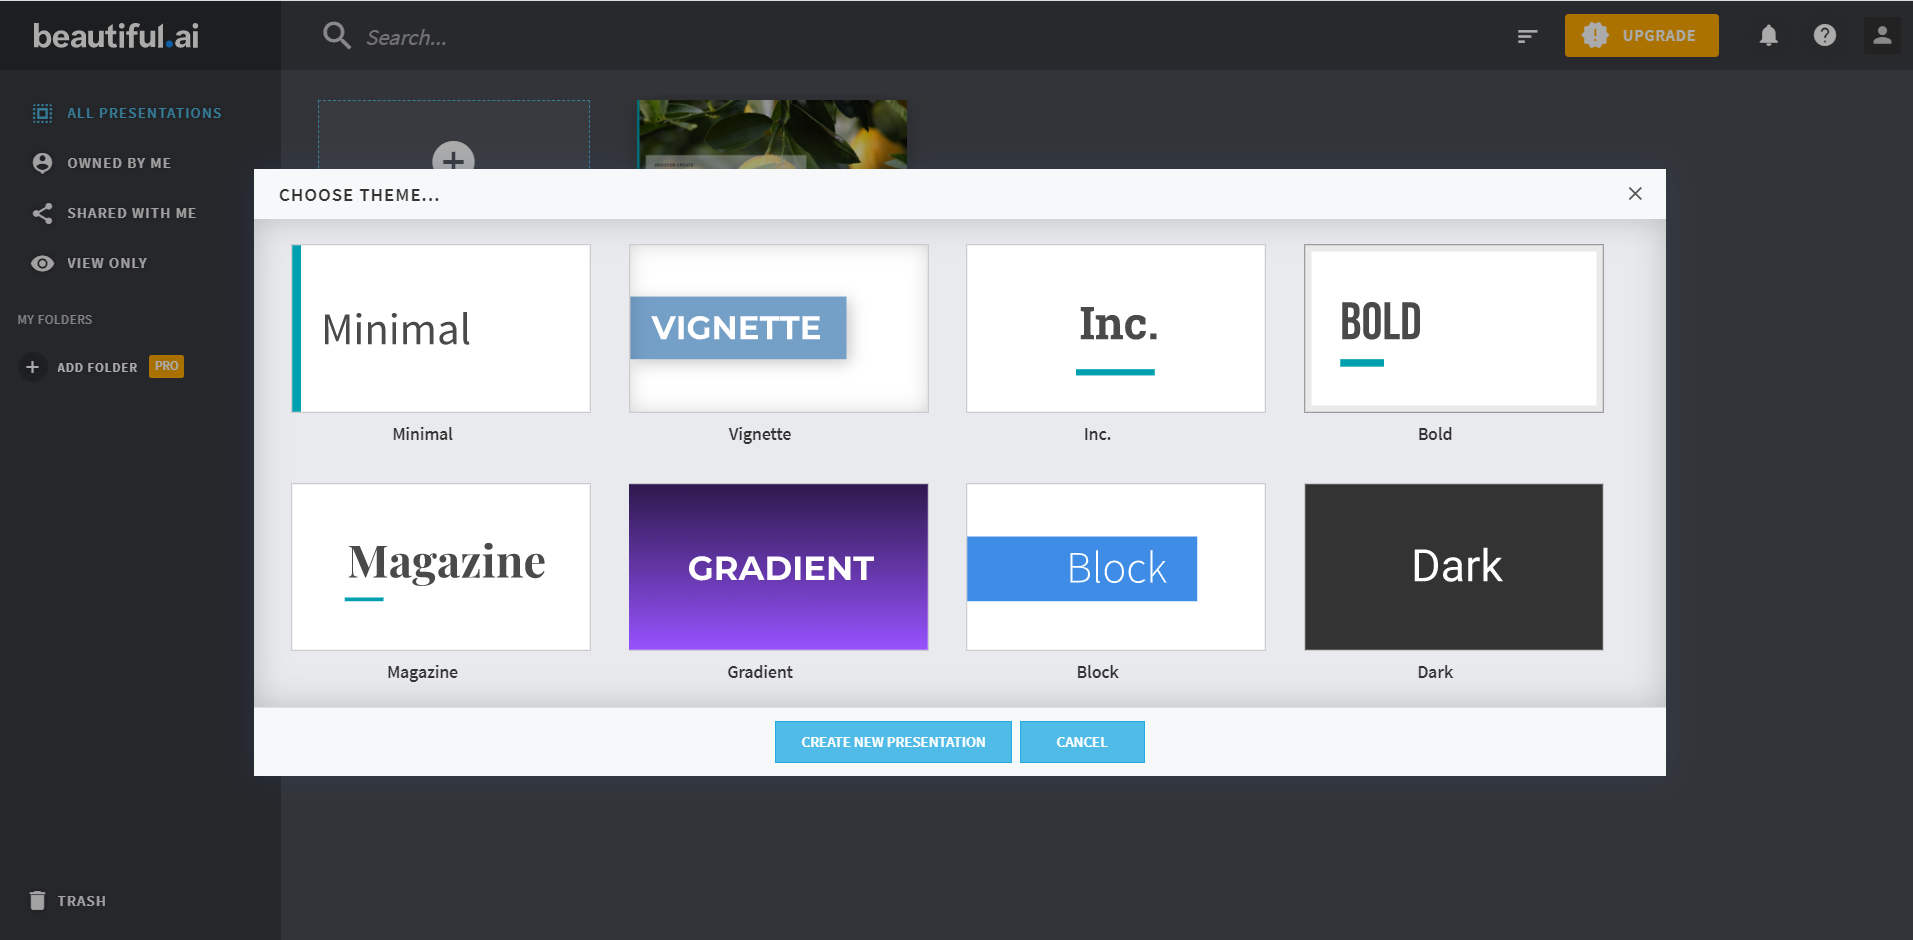
Click on New Presentation to begin designing your slides. A dialog box appears that requires you to pick a Theme for your presentation. Choose one that fits your purposes and click on Create New Presentation.
Once you’ve chosen a theme and clicked on create new, a black canvas appears where you can now begin designing your slide.

You can change where the text box appears. Just click on Text Options right below your canvas and the text box will be repositioned.

For free, high quality photos go to imagesload.net and choose a photo. Download it onto your desktop. Go back to beautiful.ai and click on Add Image. Click on Import Image and navigate to where you saved your image from imagesload.net. Click Open and the image is sent to your canvas.
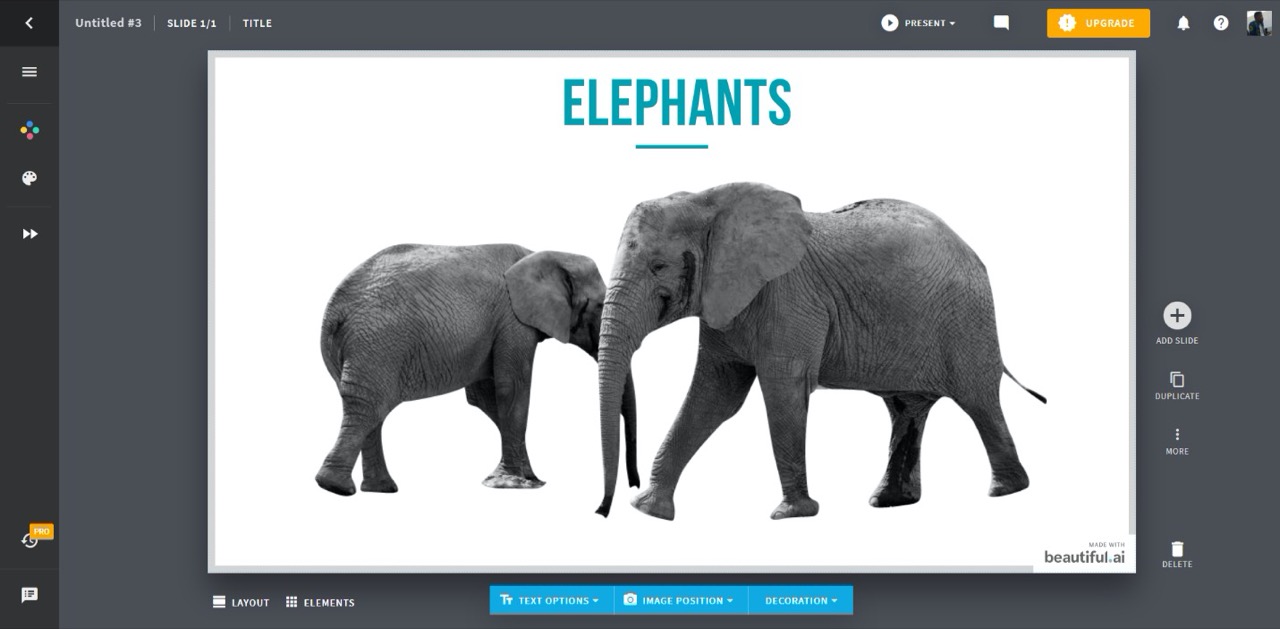
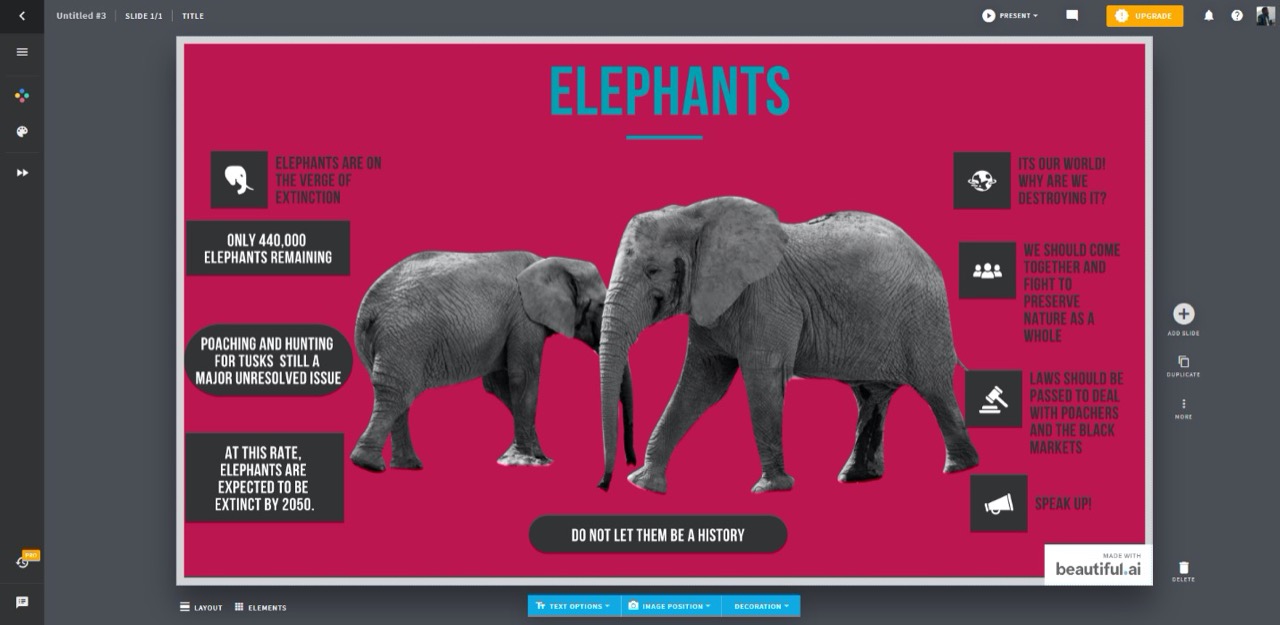
Here is what mine looked like (https://imagesload.net/view/african-elephant-transparent-background-png/d7v7q)
You can edit different aspects of your image such as the size, background and filter. Just double click on the image and a command box will appear. Then proceed to edit the image to your liking.
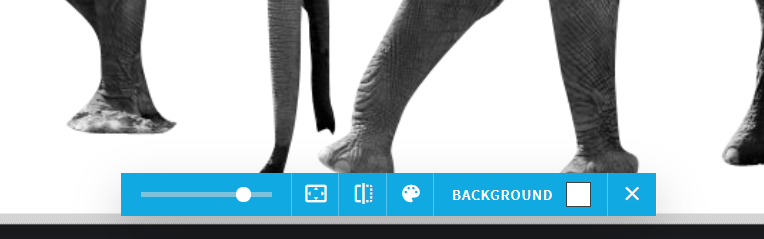
You can also edit the image position by clicking on Image Position command.
Click on the Elements command below your canvas. This opens up several options which you can use to customize your slides. Drag an element you’d like to use onto your slide and proceed to edit it accordingly. You can add text, icons as well as images onto your slide.

Here is how my slide looked like after fiddling with it for a while.
You can click on the Colors option on the left of your screen to edit the background and foreground colors. You can also add more slides by clicking on the + sign right beside your slide.
You can also add Animations to your slides. You’ll see the option for this on the left hand side of your screen.
After you’re done creating your presentation, click on the first option to the left of your screen (the block sign). This is the Actions tab and it opens up a dialog box. This allows you to export your final product. You can also share, collaborate with other people and recover slides.
If you are satisfied with the product click on Export. Choose an appropriate format from the options that appear.

Alternatively, you can go back to your slide and click on the More option on the right of your slide. You can then export is as JPEG. Your slide will be downloaded.
As you can see, it’s easy to make slides with beautiful.ai. It literally took me less than 10 minutes to make my slide and this was my first time using it. Take your time with the controls to get a feel of everything and you’ll be making high quality presentations within no time.
Read more