Published 6 years ago
Kapwing is a content creation tool that helps you go through the complete process for content creation. It helps you to create content with features that you expect such as managing images, shapes, many fonts, but there are many additional interesting features. It helps you to manage all of your image assets as well which can be really helpful. Many of us typically keep a library of resources (clipart, images, backgrounds, and even fonts) on our desktop which can be quite cumbersome. The other vary handy feature is that it is a truly online collaborative platform where you can have multiple people work on the one piece of content.
Kapwing was founded by a small genuine team Julia and Eric who are ex-Googlers that have a passion for video and image creation but found tools to be quite complex to use to get things out faster. They founded the company in 2017 and have now turned this from a bootstrapped endeavour to a team of funded passionate developers.
There are many handy features that are available, which range from technical features, starter features, and very importantly just a great user experience. One simple one that stands out is that you can start experiencing the platform within seconds. When I went to the website, there’s a large call to action which invites you in, then you can start to create content right away. So right away you can determine how it all works. Another key feature is their library of images. I spend a lot of time on wordpress, and the media library feature reminds me a lot about having that library of curated images that are always at your finger tips and accessible.
Here are the pros and cons as of middle of 2020 (the product is continually evolving, so I’m sure the cons will get resolved over time):
Pros:
Cons:
It is incredibly simple to create an infographic with Kapwing. All in all the below infographic took less than 10 minutes to create and I was using the service for the very first time. I didn’t even need to create an account. It’s strange, but in this day and age, creating an account online is paramount to paying a fee.. with the fact that Kapwing didn’t ask for me to create one, encouraged me to create one because the product was so great

Here are the simple steps used to create the above infographic.
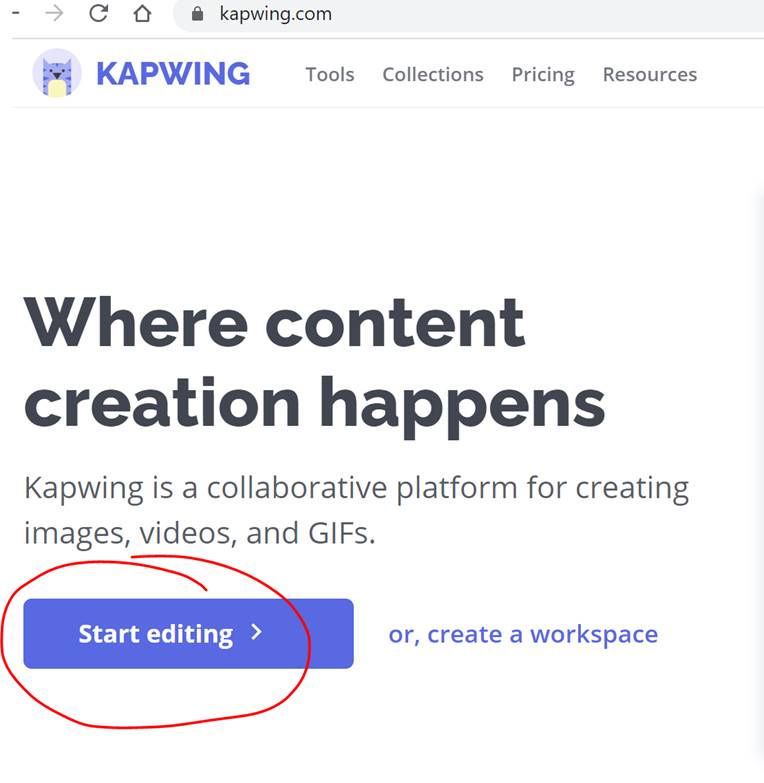
First things first, simply go to www.kapwing.com and click on Start Editing. You’ll be transported to a canvas which you can play with
You’re faced with two options to either start with a blank canvas or to upload a background image. I started with a blank canvas
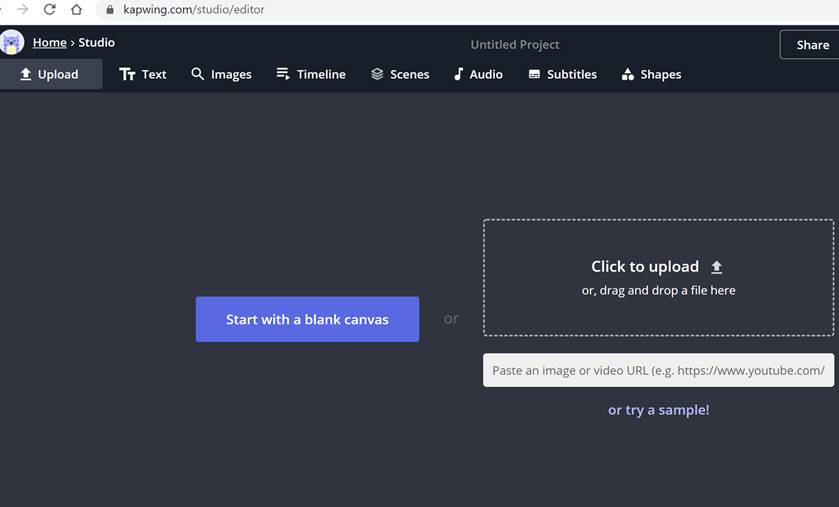
Once you click on the blank canvas, then you can see the working area which you can work with and the various component – see below image:

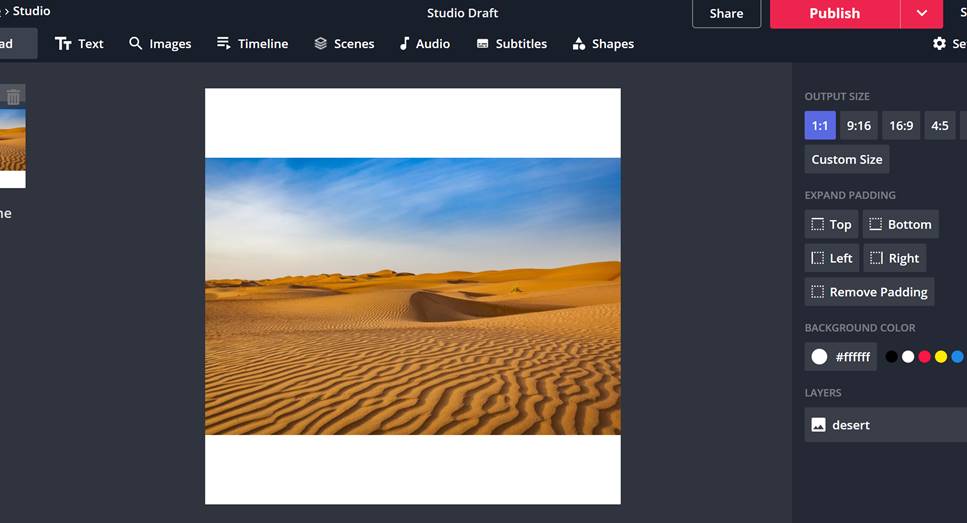
In the Resource menu at the top, chose Images menu item where you will be shown a search window where you can find a suitable background. For my example infographic I chose to find a nice background of a desert as a starting point.

The canvas will have the background image cantered already. You can move it around, and it will snap to the corners as you near them.
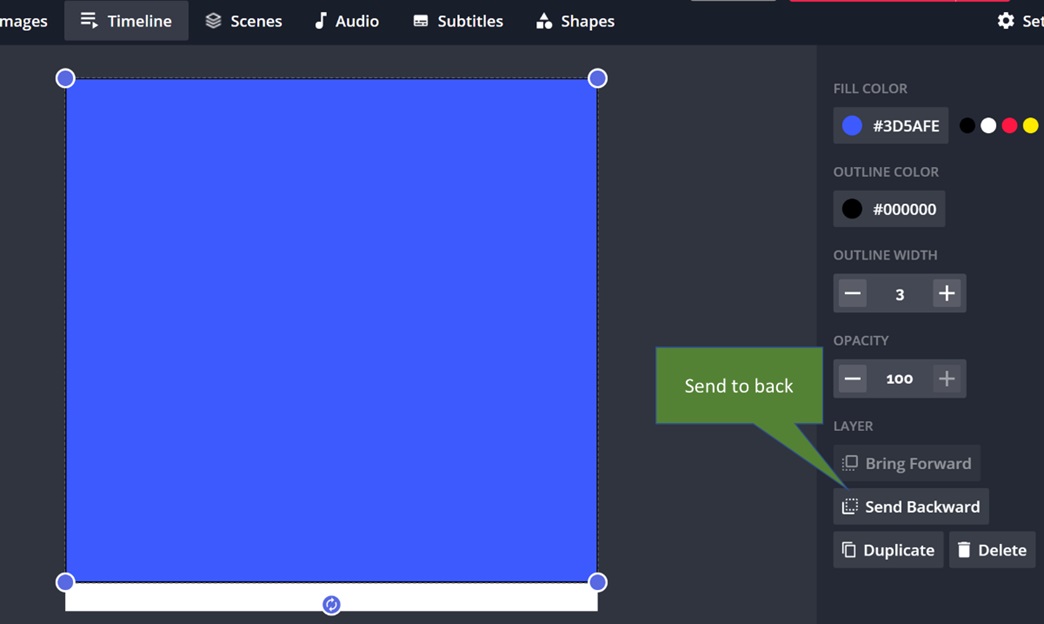
You can then add a shape (a square), then shape it to the top, change the color and send the shape to the back
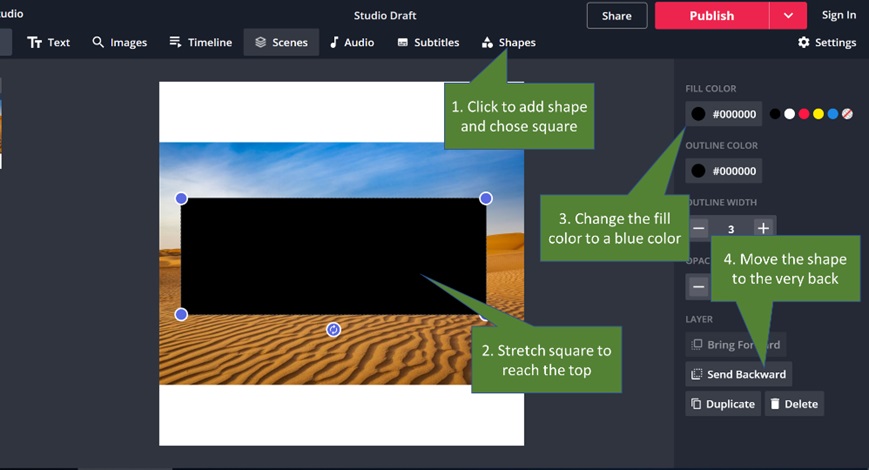
This is the send to back step again:
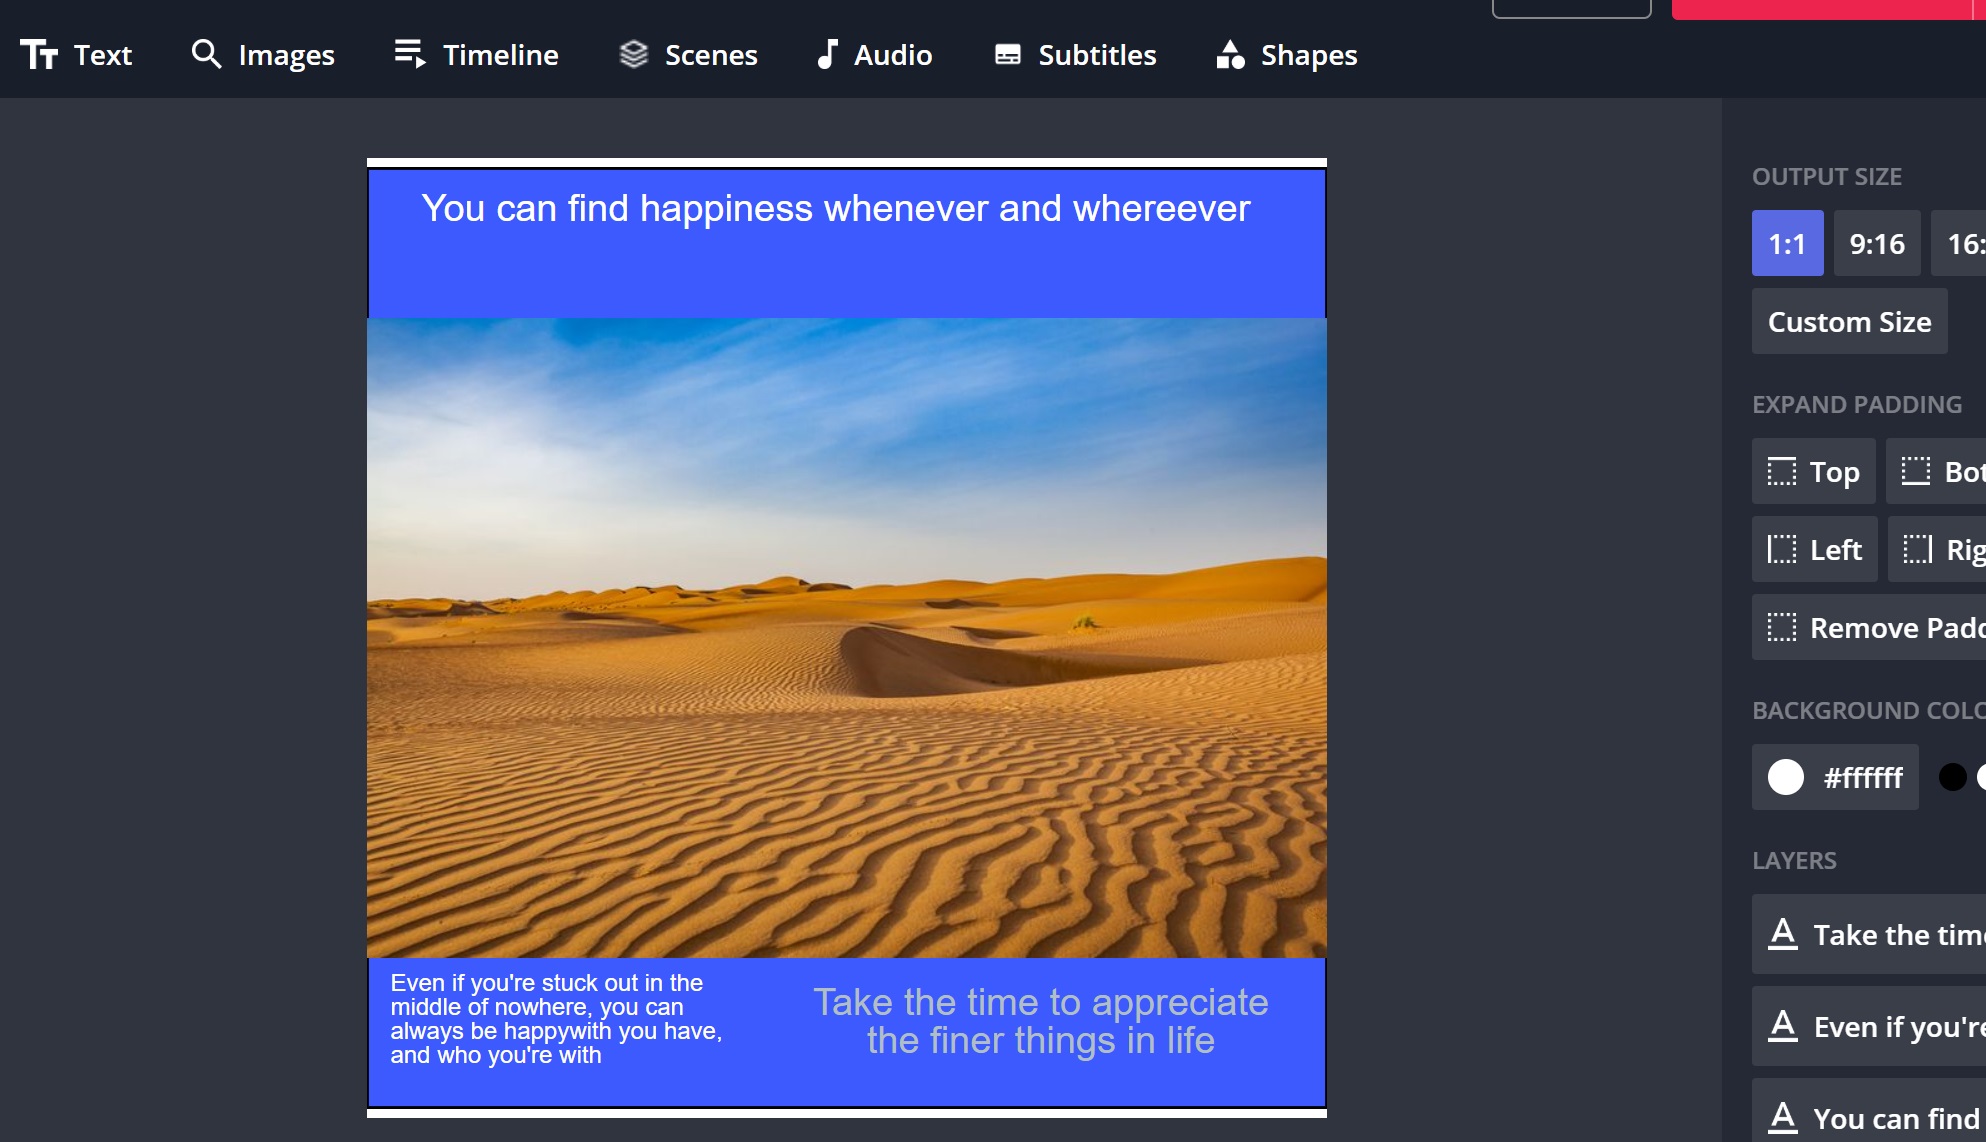
Step 5: Add text and adjust the formatting of the text
Adding text is also dead simple where you can add text which has a default text set (a nice little touch), and you can change the font, color, format quite easily.

Here several texts were added with different fonts, colors, and font sizes
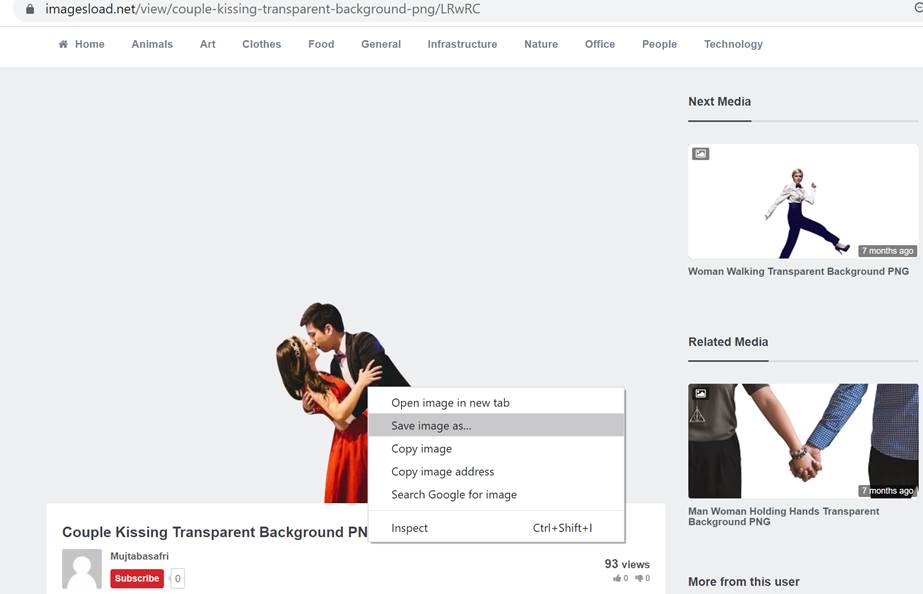
A foreground or focus of attention will be added here. The challenge is that it will need to be an image which has a transparent background so that you can still the background. This is where a transparent image from https://imagesload.net will be used where there’s a wide selection, and if an image cannot be found, the team there will find one for you for free.
Here we will add the image of this romantic couple (link here). You can save the image file first to your local computer.
You can then upload the image file back to kapwig images repository by chosing the upload option.
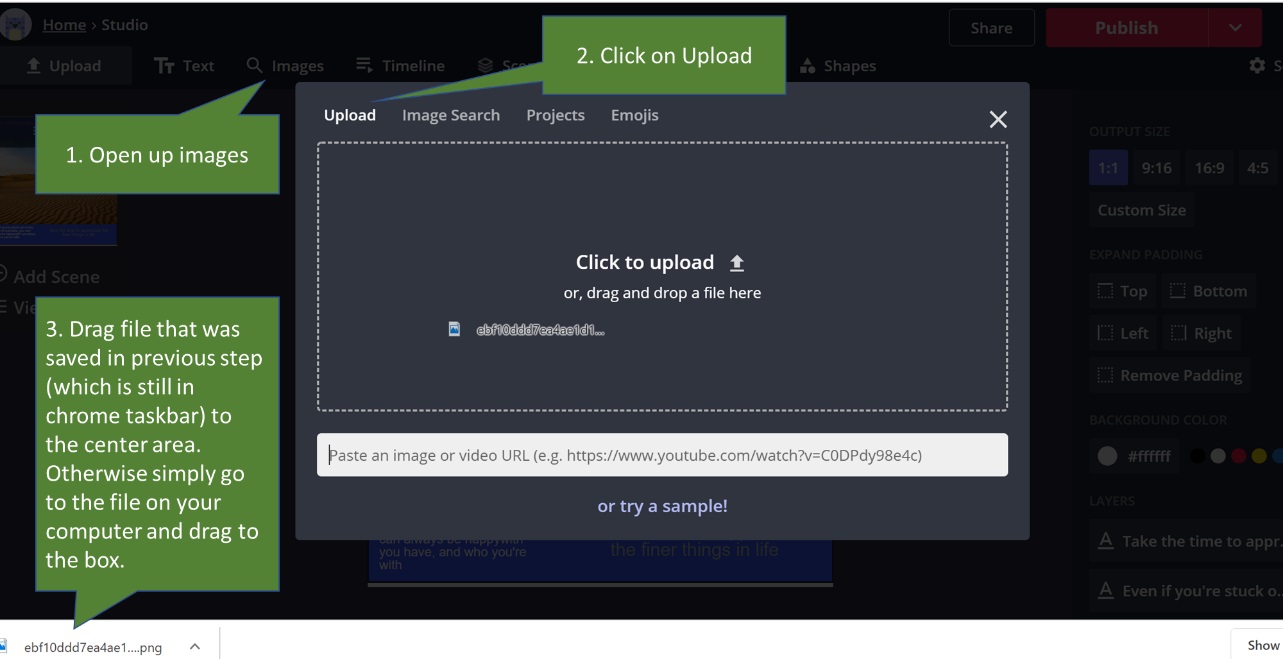
The image will be added automatically. You can then also adjust the colors to make it match your background.

As the foreground is brighter than the background, I reduced the brightness, contrast and saturation. You’ll need to play around with these setting until it looks right to match your background.

Finally, added some final shapes to add some contrast. This you can again play with to see what fits best. In this case it was added a red circle shape, and also a red line shape under the heading text.

You finally download the image either by simply taking a screenshot using something like windows snipping tool, or better yet, you can click on the big red Publish button the top corner, and then click on download. Again, you do not need to sign in which is again another nice feature.
As you can see, creating images, infographics where there is a combination of shapes, images, background and foreground images is dead easy using Kapwing. You should certainly spend a little bit of time getting to know the platform and give it a ago.